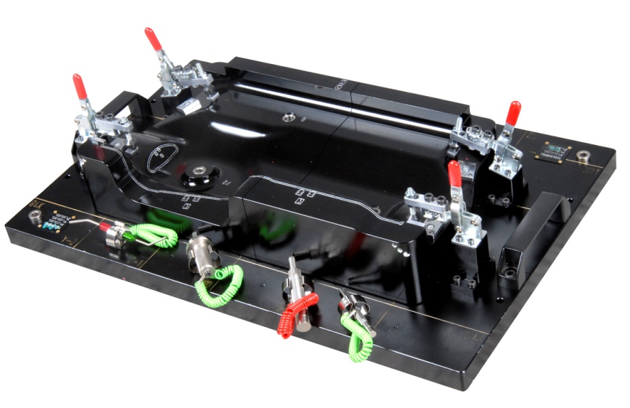
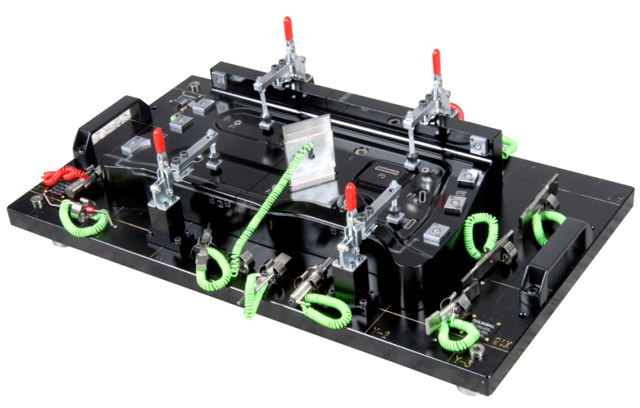
In addition to the accuracy requirements of the analog block in the parts of the vehicle inspection tool, the height accuracy of other parts is guaranteed to be plus or minus ±0.01MM, and the shape can be within the range of plus or minus 0.1mm. When the button mechanism is used, it is also processed according to the standard plus or minus 0.1 mm and the height according to the tolerance of plus or minus 0.01 mm.
The processing method of the car inspection tool buckle has three parts, the buckle seat and the left and right symmetrical buckle. Before processing, the material of the incoming material is first determined, and then the outer shape of the incoming material is determined, whether there is 0.3~0.5mm.The amount of milling machine starts to be punched. In order to facilitate the subsequent processing, the reference point must be made. The positioning pin hole is machined with a 2.5mm drill bit. The pin hole is to be cut and finished after finishing grinding. After the milling machine is finished, the tapping is sent. Heat treatment, hardness is HRC45 ° C ~ 48 ° C, the standard fasteners ordered on the market is not hardened,In order to consider the service life of the parts, all steel parts are hardened and finished after the heat treatment. Note that the thickness of the snap seat and the buckle block should be refined to ±0.01MM, and the wire cutting processing is completed after the completion. The groove and the snap hole are the actual ones. When matching, you must pay attention to the matching clearance. To ensure that the left and right can not be shaken after the completion of the cooperation, a perfect snap mechanism is completed.
Post time: Mar-01-2023


.png)
.png)